

The allure of the backcountry and popularity of ski touring is growing. Maybe it’s the desire to escape the digital world and connect more deeply with nature, self discovery only the backcountry can provide. Or, it could simply be the chase for big, untouched lines. Whatever reason is pushing you to explore off piste, you have to start at the basics. Ski touring (or splitboarding) isn’t simply grabbing gear out of the closet, a lift ticket, and heading to the mountain. It first and foremost requires education, which we will briefly touch on. However, the purpose of this blog is to help educate you on what gear you absolutely need to get you started and its purpose.
1. Education
As mentioned, you have to start with proper education before heading into the backcountry. If you’re living in the Sea to Sky Corridor, there are plenty of options to access this type of training. The education we’re speaking of is a course called Avalanche Safety Training (AST Level 1). In this, you’ll be guided under the wings of professionals to learn the fundamentals critical to safe backcountry travel. It’s typically a two day course, with in-classroom instruction, and a day in the backcountry for hands-on experience. We highly recommend Mountain Skills Academy for the Sea to Sky Corridor. You can learn more about booking your AST Level 1 here.
2. Skis & Poles
If you’re looking for a way to save a bit of money, you can technically get away with using your resort skis for ski touring. While the resort skis will be heavier on the climbs, you can swap the bindings out on your resort skis for a set of touring bindings. Obviously, if you are a snowboarder, you’ll have to swap out for a splitboard and touring bindings. If you want to test out top of the line skis and splitboards before you decide to buy a new setup, we are currently offering a locals deal for rentals. 5 days for the price of 4, and you can use them all at once or spread out over the winter. Just contact any of our stores for more information!
Touring specific poles are particularly important for snowboarders getting into split-boarding. When it’s time to switch over to the descent, you’ll want a compactible pole you can strap to your pack. This keeps the poles out of the way, ensuring they won’t snag the snow when you’re laying it down and carving deep turns. We recommend the Black Diamond Compactor for its lightweight and durable design. For skiers, adjustable length poles help the most on long traverses. Other benefits of touring specific poles is the addition of a secondary hand placement and a grip that can easily hook boot buckles and heel height adjustors on bindings. The BD Expedition 2 poles are a great option and come with all these features. It’s important to note, straps shouldn’t be used when avalanche conditions are a concern.

3. Touring Bindings
One thing you can’t transfer over from your in bounds set up to your ski tour setup is the bindings. Since you’ll be climbing to access the descent with only the power of your legs, you have to have bindings that allow you to walk uphill. There are several different styles to choose from, which all operate a bit differently, but the main functionality of all the bindings allow your heel to raise up and down while your toe stays connected to the front of the bindings.
Generally speaking, most people getting into ski touring will go with a hybrid binding like the Marker F12. This gives you a safe and stable binding to still ski in resort, but the functionality to also head into the backcountry. Another hybrid is the Atomic Shift, which is lighter, and comes in at a higher price point. If you know you want to make the commitment and have a touring specific setup, tech bindings (or commonly called “pin”) are the lightest weight and easiest binding to move in. This will allow you to scale the mountain faster with less effort and not to mention, it makes the downhill better! We highly recommend talking with one of our experts at the store to help you decide what type of binding suits your style the best.
4. Touring Boots
I’ve definitely seen people using alpine boots in a backcountry setting, but it was always accompanied by a slight grimace on their face. Alpine boots are heavier and have a decreased range of motion, so you’ll end up with blisters and tire out more quickly. Ideally you’ll want to get a touring specific boot that has a lovely feature called “walk mode.” The larger range of motion and lighter weight of touring boots will help prevent blisters and fatigue on the climbs. The boots also have a rocker and a Vibram type sole to allow you to walk with the sure-footedness of a mountain goat… or at least allow you to walk in a more normal gait when boot packing. These boots will also give you the option to use tech bindings, opening up your options to find the perfect boot and binding combo. With all this said, if the boots don’t fit properly, you won’t be happy in or out of bounds. You can come to either of our locations in Squamish or Whistler to find the best boots for your feet.
5. Skins
Skins, the lovely piece of equipment that makes it all come together. The long pieces of material will be placed on the bottom of your skis for the ascent. The tiny hair-like fabric on one side of the skin allows you to gain traction while you’re climbing. And don’t worry, while the glue side adheres to the base of your skis, they won’t leave your base sticky for the descent. For someone just getting into ski touring, it’s best to stick with strictly synthetic skins or skins with a combination of synthetic and natural mohair. These options offer great grip on the climb, lasting durability, and good glide. We recommend the G3 Alpinist or Black Diamond GlideLite Mix for those starting out. When you purchase a set of skins for your skis, you’ll have to cut them down to fit the width of your skis. Skins come with the tool to do this yourself, and you can watch this video by G3 for tips on how to cut yours.

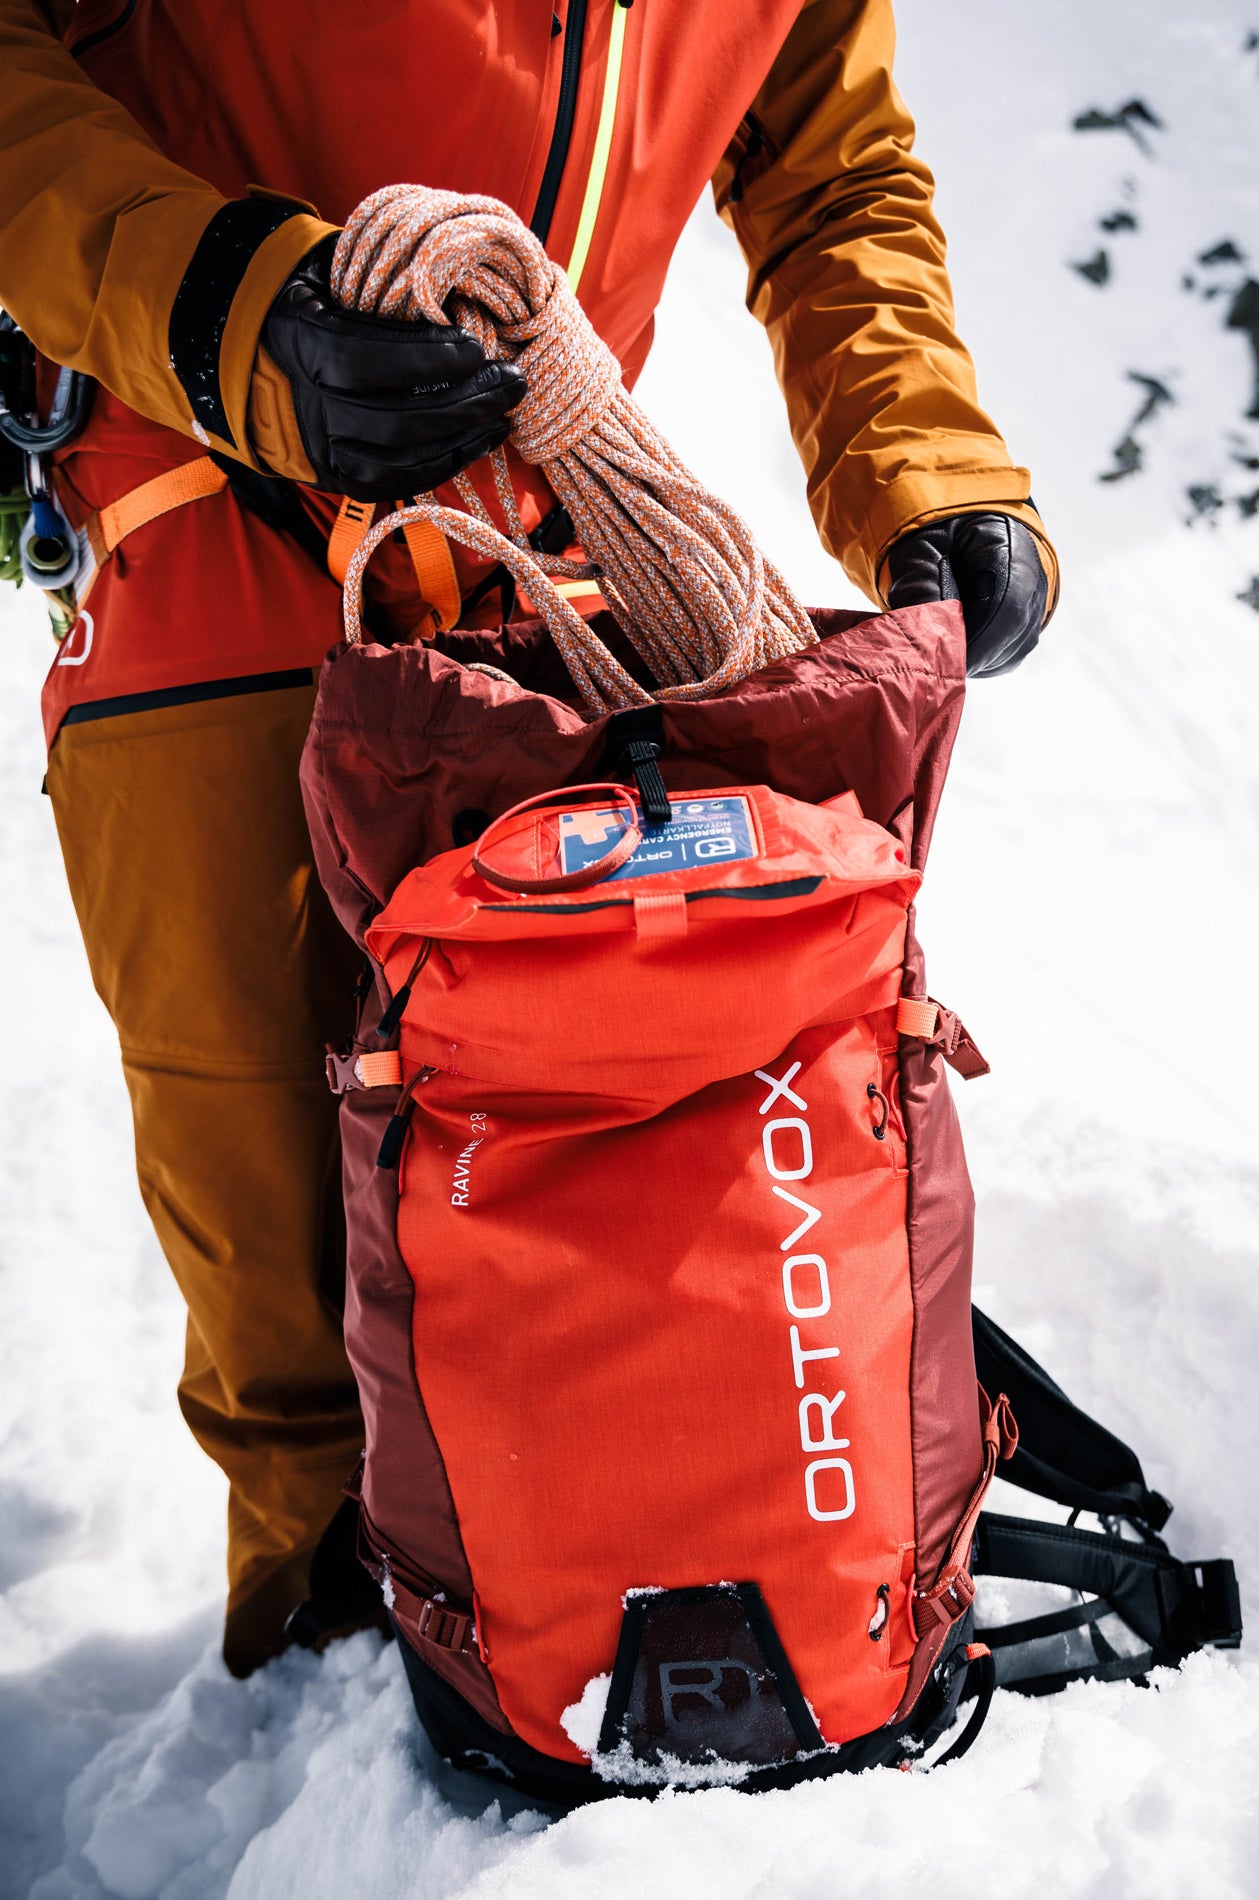
6. Backpack
A backpack is a backpack, right? Well, yes and no. Typical hiking packs could potentially be fine, but they are missing an extremely key and important piece you need for ski touring: easy access to your avalanche safety equipment. Having a specific area in the pack for simple access to your safety gear is crucial for ski touring. The other benefits of a ski tour specific pack are the straps designed to carry your skis or board, helmet carrier, and a scratch-free goggle pocket. We recommend something like the Osprey Kamber (uni-sex) or Kresta (female specific) packs to get you started. The 30-32 liter bags provide plenty of room for day trips in the backcountry. You’ll also want to make sure that you carry a first aid kit and emergency bivi in your pack, which you can find here.
7. Transceiver
Check, check, check. Your transceiver is a crucial piece of safety equipment, as it allows you to find buried skiers and also be found by your partners if you were the one buried. This device will be worn around your chest the entire time you are in the backcountry. While you are skiing or skinning, the transceiver will be set to “send” mode, making you searchable by others. In the event of a slide, you will then click over to “search” mode to locate someone who is buried. It is important to note, you must keep electronic devices turned off (airplane mode doesn’t cut it) or far away from your transceiver. If you don’t, they will interfere with the capabilities and accuracy of the transceiver.
You will learn more about how to use it effectively in your AST level 1. The training doesn’t stop there though, as you’ll want to practice with this device on a regular basis to make sure you’re competent in using it. Always make sure you are fully charged and have back-up batteries or a charger for your transceiver before heading into the backcountry. Low battery or no-transceiver means no ski touring.
There are a variety of transceivers to choose from – all will have the same basic search/send functions, but some (usually Guide versions) will have a bit more advanced features. The most popular entry-level transceivers are Black Diamond’s Recon BT and Mammut’s Barryvox. Ortovox has also recently released a new transceiver called the Diract Voice, featuring voice navigation that is intuitive and easy to use for beginners. Browse all transceivers here.
8. Probe
Another crucial item for your list is what’s called a probe. This piece of equipment is made of cylindrical sections, with a cord running through the center used to pull the sections tight, forming a long stick. It is used to physically punch through the snow when searching for a buried skier after you have located them with your transceiver. This is another item you’ll want to practice with before heading into the backcountry, making sure you can erect the collapsible probe quickly.
Probes come in a range of sizes – from 240 to 320cm. While 240cm probes may be sufficient in places with shallower snowpacks, here in the West Coast, we tend to get a deeper snowpack than most. Which is why we highly recommend getting a 320cm probe. There’s nothing worse than being unable to locate your buddy in the snow due to not having a long enough probe! Shop probes here.

9. Shovel
The third component to your avalanche safety kit is a shovel. This is what you will use to do snowpack tests, as well as what you would need in the unfortunate emergency situation to unbury a fellow skier. The shovels designed for ski touring come in two sections, allowing you to pack them more easily in your pack. You’ll simply need to attach the handle to the base when you’re ready to use it. For those starting out ski touring or split boarding, we recommend purchasing the Black Diamond Recon Avy Set or the Mammut Barryvox Package. These kits comes with a transceiver, probe, and shovel. It’s a simple way to get everything you need and save money while doing it.
10. Navigation
While you will learn more about this in your AST L1 course, it’s worthy to note the importance of having a reliable navigation tool while in the backcountry. This can be a backcountry map and compass, or if you have the budget, you can go with electronic devices to aid in navigation. Whether you have something like the Garmin inReach Explorer or not, you’ll still want to carry a map as a backup, just in case. For maps, we highly recommend John Bladwin’s waterproof and tear proof maps for the BC backcountry.
We hope this helps you understand the essentials of ski touring better. While this was intended to give you a base level understanding of the components of ski touring, we welcome you to stop by one of stores to learn more. You can find our locations, store hours, and contact information here.